Here is a little tutorial of how it works:
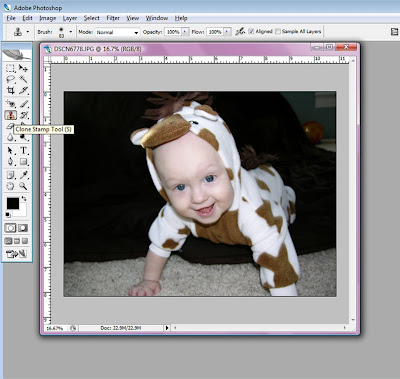
The clone stamp is shown on the left tool bar. Here I have it selected and the name has popped up.
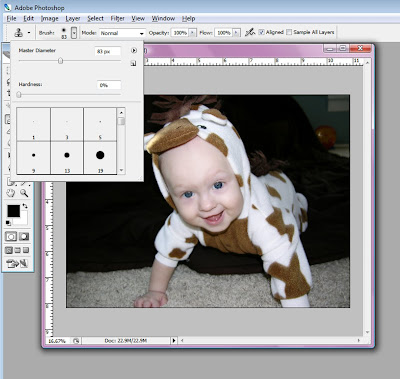
You will most likely want to change the brush size which is located towards the top. I have it selected.) If your going to be working on a face I suggest using a very small brush size and make sure you zoom in close to your subject. You will want Hardness to be at 0 or a small number. You may also want to play with the opacity level that is also located at the top. But if your working on a background a larger bush size works well for large areas and keep the opacity at 100%. When you get close to your subject make the brush size smaller and up the hardness so it matches or looks real. You can always undo if it doesn't look right.
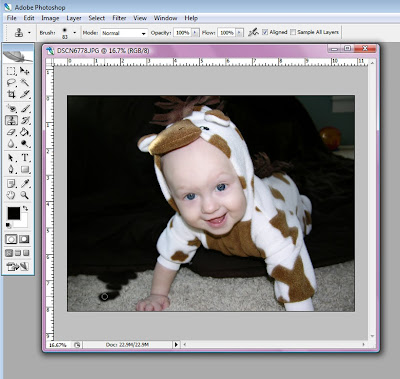
When you have your brush size set to your choosing you can click on your photo to get rid of the menu. Then hit Alt which brings up a circle with a cross bar. Put it over which ever area you would like to duplicate and click. Then you can click the area that you want to change and viola you have now used the stamp tool. Drag it around and fill in the areas you want changed. Alt and click as many times as you would like to get a realistic look.
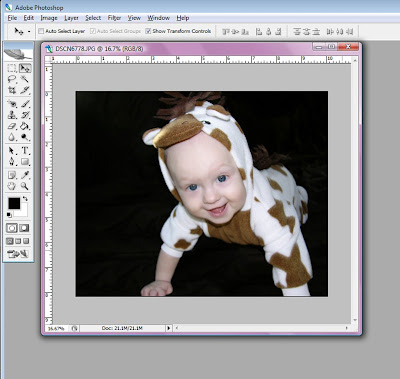
Here I just quickly did it to show you how it can change. If I wanted it to look very realistic I would have been more careful with the sheet pattern, but I just wanted you to get the idea.
When Kaelyn started crawling she wouldn't stay on a sheet for a solid background color so the clone stamp came in very handy! I suggest just playing around with the tool and you'll get the hang of it in no time.
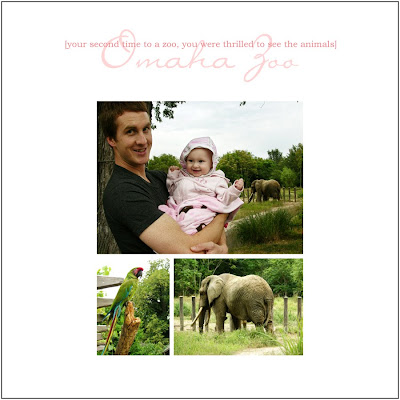
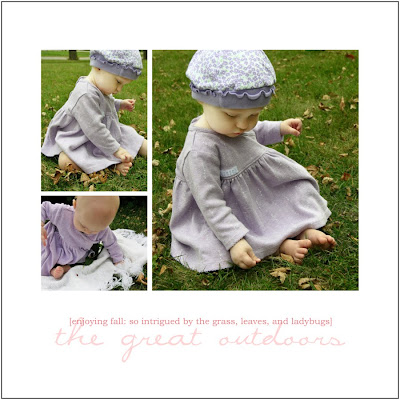
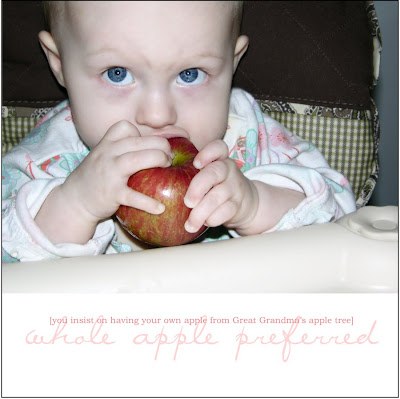
Here are a few more pages added to Kaelyn's book:




No comments:
Post a Comment